Alysha Yoder Photography
Capturing Moments. Making Memories.
Coconut Corn Flake Kisses
Posted on May 17, 2016
Are you guys ready? Ready to have your mind’s blown with this crazy recipe??
I’m not joking. This is like a French Macaroon, meets an American coconut macaroon, meets rice crispy treats (just made with corn flakes). Your brain and tastebuds are about to go… BOOM.
Grams was the queen of baked goods. Cooking in general. But man, every time we came to visit, grams was always sure to make your favorite meal and dessert. There were always cookies, pie, cakes, you name it… it was there. She loved experimenting in the kitchen and her desserts were no exception. I couldn’t even tell you how many different types of grandma cookies I’ve tried over the years. This recipe is one of my kitchen experiments. I’ve never seen anything like it, so what the heck?! Figured we’d give it a try.
This is actually perfect for kids. It’s a fun interactive recipe and it kind of like a healthier version of rice crispy treats. You know pretty much everything that is going in it. You could use any cereal for this and make it gluten free too!
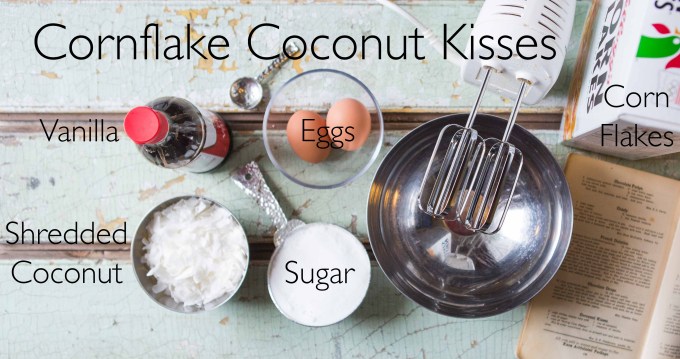
Cornflake Coconut Kisses
- 2 eggs whites, beaten very stiff (stiff peaks)
- 1 cup sugar
- 2 cups of “Kellogs Corn Flakes”
- 1 cup of unsweetened shredded coconut (found it very cheap in the bulk bins at Wegmans)
- 1 tsp vanilla
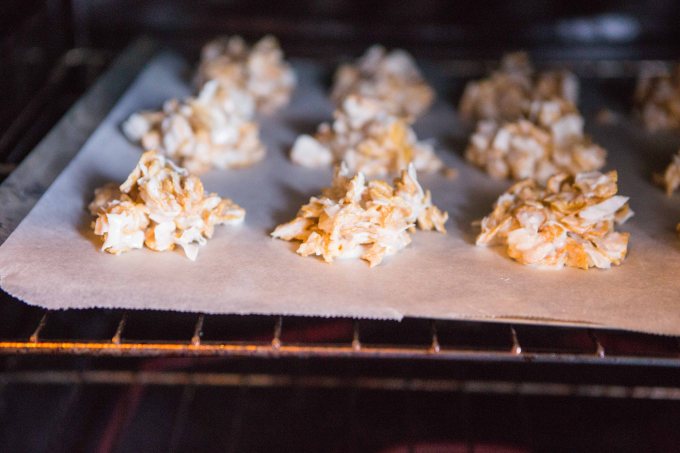
Preheat oven to 350°. Separate eggs. Beat egg whites to stiff peaks. Whip in one cup of sugar. Carefully fold in corn flakes, coconut and vanilla. Make sure that everything is combined and coated well. This is a very ‘loose batter.’ Don’t worry. Trust me, as long as everything is coated, this will cook.. puff up and stay together. Once everything is combined, drop balls of about 1-2T of the mixture onto parchment paper. Make sure to space out drops evenly. Bake in the oven for 12-15 minutes until golden brown. Let cool and enjoy this craziness 🙂


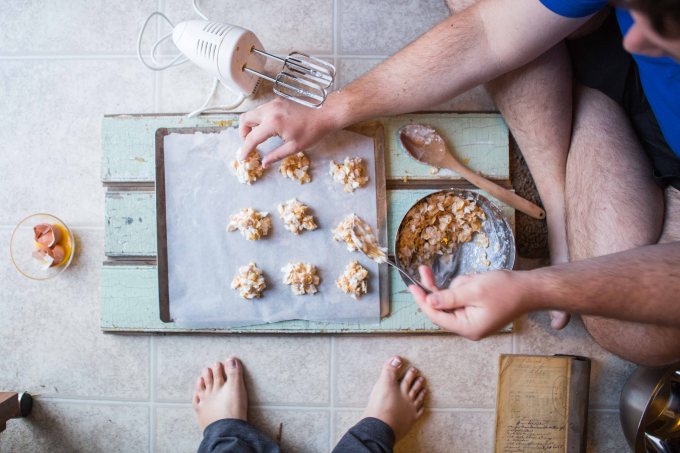
Ever wonder what it looks like when we’re shooting? Here’s a bird’s eye view. Anyone who tells me their space is small hasn’t seen where I shoot. Especially when the hubs is 6’5″ and sitting on the floor lol. He’s doing such a good job hand modeling though, isn’t he?


Photography and writing by:
(b) www.alyshayoderphotoblog.com
![]() www.alyshayoderphoto.com (e) alyshayoderphoto@yahoo.com (p) 610.762.7810
www.alyshayoderphoto.com (e) alyshayoderphoto@yahoo.com (p) 610.762.7810
Cheesy Spinach Squares
Posted on April 26, 2016
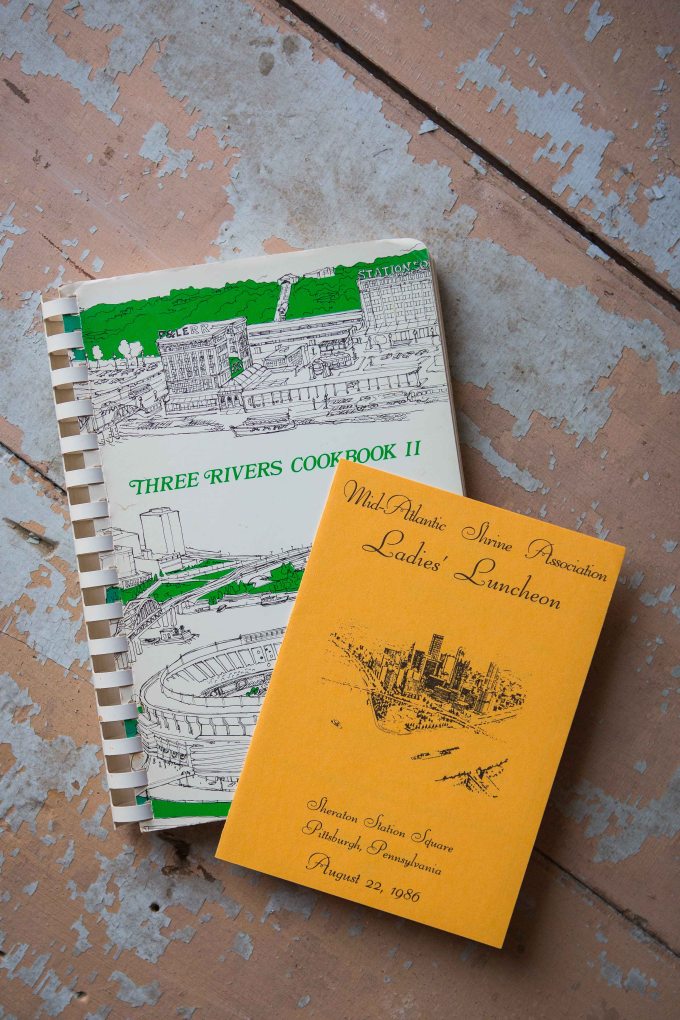
Onto another one of Gram’s cook books. This time, it was one she happened to have a few of her own recipes in. I’m fairly certain that it somehow was connected to The Shriners. Both my grandfather (an actual Shriner, who also dressed up as a clown for many of their parades) and grams were involved in the Shrine. I mean, she still has ticket stubs to the ‘ladies luncheon’ she attended as a book marker… leave it to grams to keep something from 1986 haha.
Delving through the treasure trove of cookbooks grandma left me is pretty fun. It’s like a treasure hunt every weekend… looking for a new recipe that’s sucks me in. This one is no exception.
Now, for those that know me, they know I’m a HUGE cook. I’m always cooking and I’ve tried to recreate, remake, and frankly…. all around experiment with just about any food I come across. This recipe is a first for me. Seriously…. something I have never eaten or seen a recipe for. This is like a combo of a strata… cheese bread… and appetizer. It’s definitely unique and delicious. The recipe is called Spinach Cheese Squares and it’s from Mrs. John Carter.

Now just to be honest, I messed up and mistakingly only got one package of spinach to make this. In reality, I think that it is better with the one package. But feel free to use two packages. I also snuck in some garlic and onion powder to give it a little more flavor (and garlic makes everything better… duh) and I’m telling you… this is really good. You could also totally add in some chopped onions or sautéed mushrooms if you’re feeling crazy. I think either would be a winner. In reality, I don’t even know what I’d classify this as. It could be an appetizer, but you could also serve it as a side. Heck, if you’re not too hungry, it could be the main course. So without further ado, I give you…. drum rolllll… Spinach Cheese Squares.
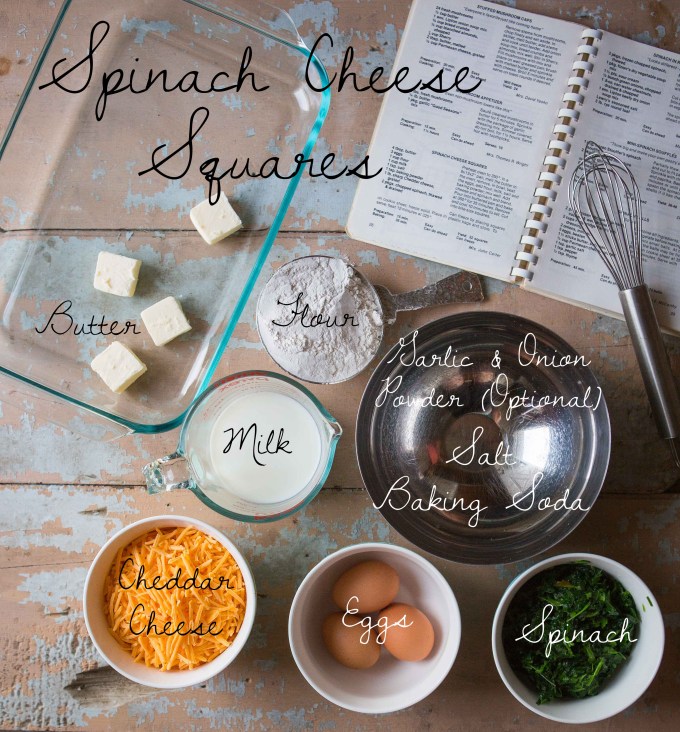
Spinach Cheese Squares:
- 4 T butter
- 3 eggs
- 1 cup flour
- 1 cup milk
- 1 tsp salt (we added a little more, but this is more to taste)
- 1 tsp baking powder
- 1 lb sharp Cheddar cheese, shredded
- 1 or 2 pkgs chopped spinach (depending on your love of spinach), thawed and drained
- 1 tsp of garlic and/or onion powder (optional)
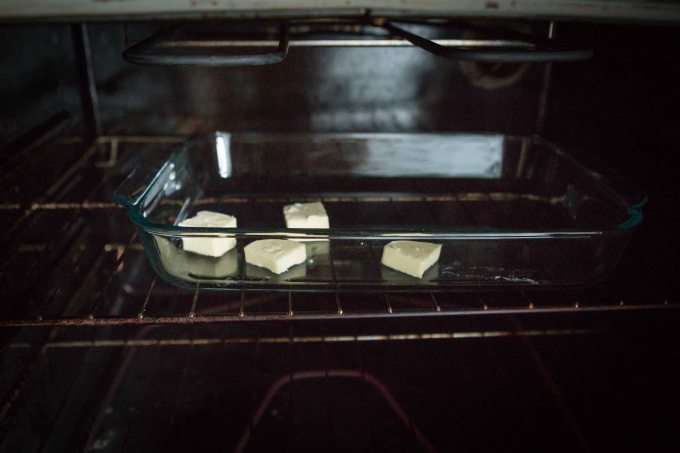
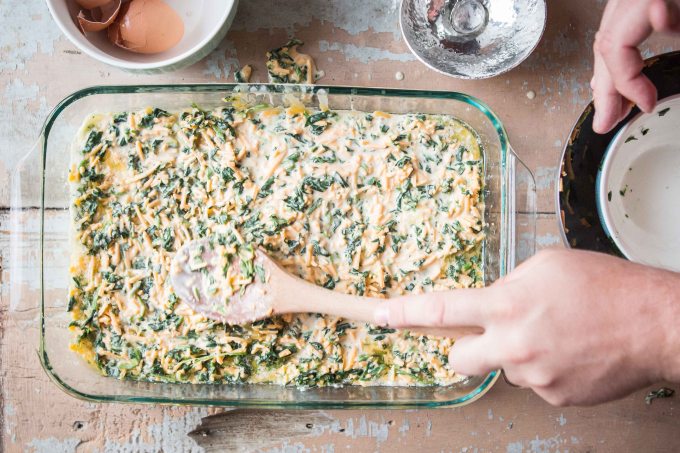
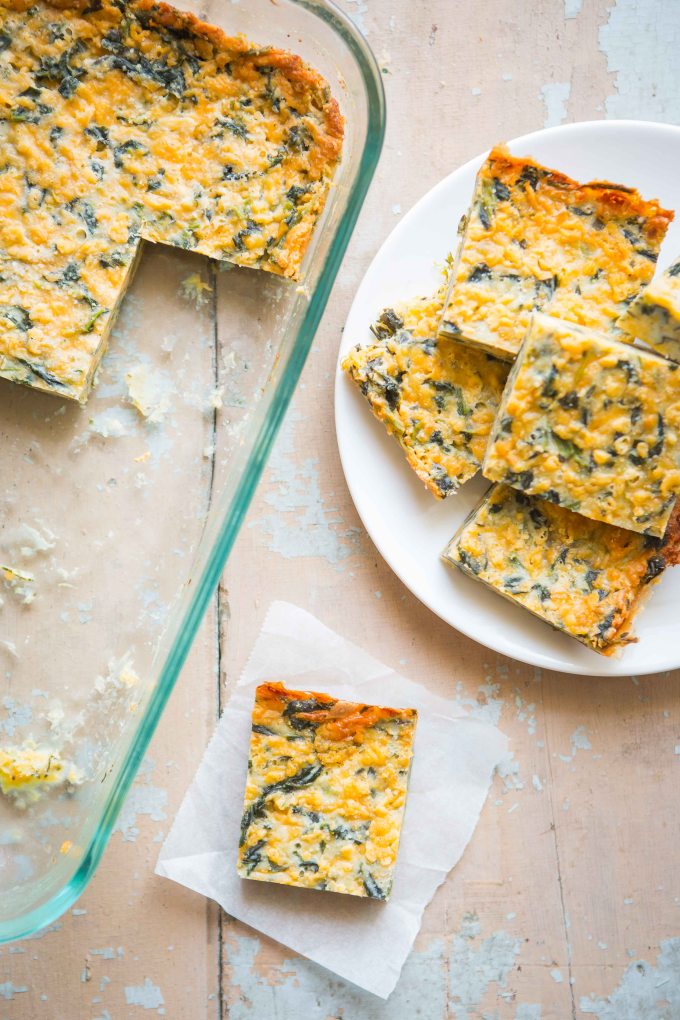
First, make sure to pull out spinach to thaw. Preheat oven to 350°. In a 9×13 pan, melt butter in oven and remove. In a bowl, beat eggs, add flour, milk, salt, baking powder, and optional garlic/onion powder. Mix well. Drain spinach well. I find the easiest way to do this is with a dish cloth. Place spinach in the center, roll cloth around the spinach and squeeze until most of the liquid has been removed. Slowly add cheese and spinach, and make sure they are blending well. Pour mixture into buttered pan, spread evenly. Bake in oven at 350° for 35 minutes. Remove and cool 10 minutes to set. Cut into bite sized squares and enjoy! The hubs and I both agreed this was better warm. This also keeps in the fridge quite well and is easy to reheat. You’ll thank me later. This seems to be a good ‘veggie hiding’ recipe for kids too!


*For more info on the health benefits of spinach check out Helen’s article here!
Photography and writing by:
(b) www.alyshayoderphotoblog.com ![]() www.alyshayoderphoto.com
www.alyshayoderphoto.com
(e) alyshayoderphoto@yahoo.com (p) 610.762.7810
Sweet Orange and Coconut
Posted on April 11, 2016
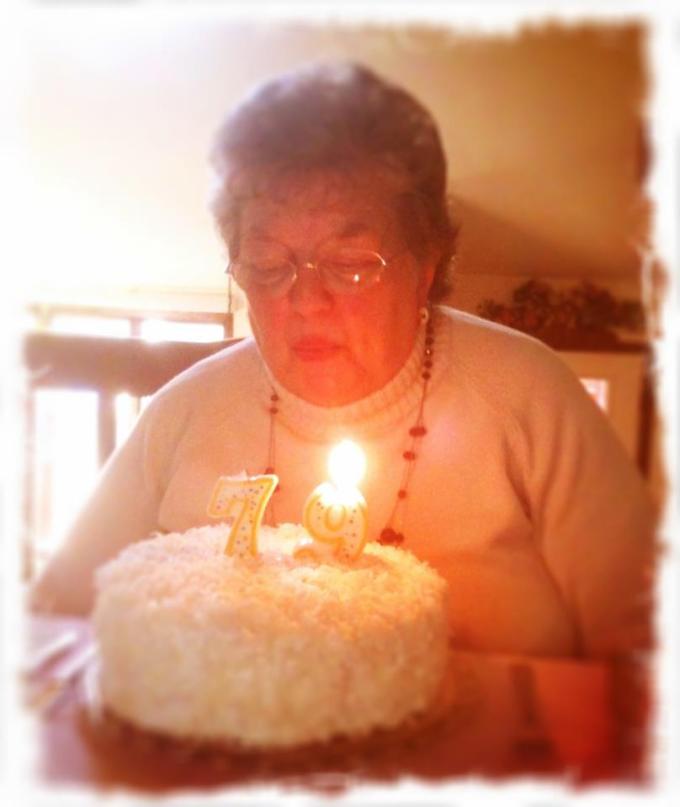
Last Monday would have been Grandma’s 82nd birthday. This was the first year I didn’t get to call her, hear her laugh, and share in another year of her life. Since Gram’s birthday was typically around Easter, we always double downed and did 2x the celebrating. If you’re part of the Yoder clan, every birthday my mother (or grandma) will cook you a dinner and dessert of your choice. Seriously, one of the biggest perks ever. Anything and everything. Nothing is off limits. My gram’s always requested orange cake with whipped coconut icing. It was her favorite. One of my favorite photos of her is two years ago blowing out the cake my mom had baked for her.
Today, in my little ode to grams, I decided to make her favorite. Orange cake with coconut icing. Now, in normal grandma form, I decided to spruce up something store bought. Yes, I bought a box cake. Sue me. I went with Betty Crocker Butter Recipe Yellow Cake. This calls for 3 eggs, 1 cup of water and 1/3 cup of butter. By changing the water into orange juice, a dash of orange extract and some orange zest… VOILA, awesome cake that NO ONE would be able to tell was store bought. Save’s you some time and money, which in my book is always a plus!
Now, I did make the icing from scratch. Cream cheese icings are always my favorite and gram’s LOVED whipped sugar icing so I combined the two into one awesome combo. I know that orange and coconut is not normally a combo most people are used to, but trust me, you’ll enjoy this! A little tangy with a little sweet. It’s the perfect combo for the wonderful lady that was grams. So without further ado, Orange Coconut Cake.
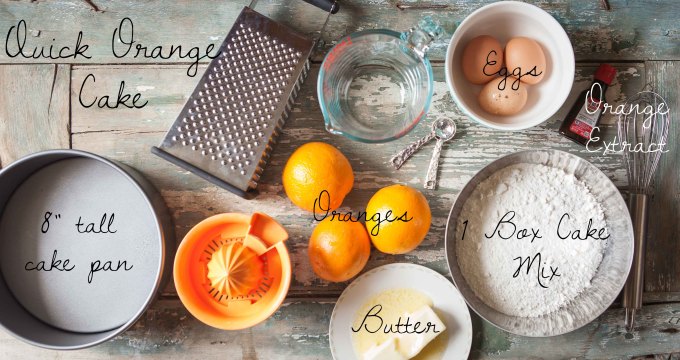
Quick Orange Cake:
- 1 box cake mix (I used Betty Crocker’s Butter Recipe Yellow Cake)
- 3 eggs
- 1/3 stick softened butter
- 3 Oranges (to make 1 cup of juice + zest)
- 1 cup fresh squeezed orange juice
- Zest of 1 orange
- 1/2 T orange extract
Preheat oven to 350 °. Open and pour cake mix in a large bowl. Add butter, eggs, and orange extract. Zest one orange into mixture. Juice three oranges to make 1 cup of orange juice (you could just use orange juice as well if you want). Mix all ingredients together well. Pour in pre-greased 8″ cake pan (make sure this is a tall 2.5-3″ pan). Put in oven and bake for 45-50 minutes, or until inserted knife comes out clean. Place cake on cooling rack and allow to cool completely before icing.


Make sure someone enjoys the batter with this one haha. Don’t worry, the hubs licked the bowl first. Now, onto the icing!
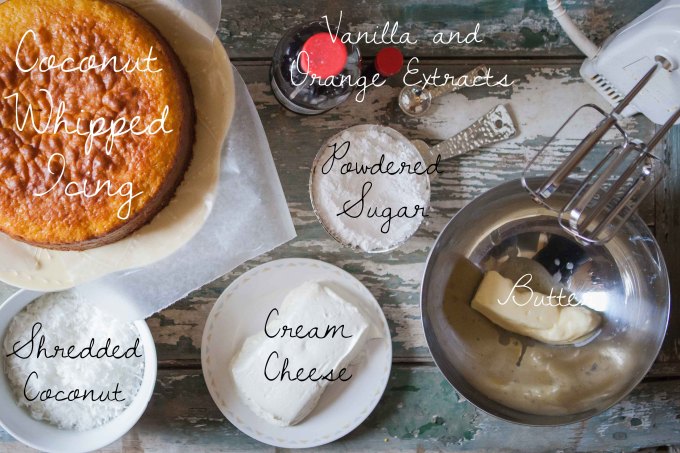
Coconut Whipped Icing:
- 1 – 8 oz package of cream cheese
- 1 stick softened butter
- 3 cups powdered sugar (or icing sugar)
- 1/2 T orange extract
- 1/2 T of vanilla extract
- 1-3 T of milk (optional, add to icing if you would like it more runny)
- 1-2 cups of shredded coconut (put more/less depending on taste)
Place softened butter in bowl. Beat until creamy. Add room temperature cream cheese, whip with butter until smooth. Add both vanilla and orange extract. Beat until smooth. Slowly incorporate powder sugar. If the icing is too thick, add milk a tablespoon at a time to thin out. Before icing cake, add wax paper around bottom of the cake. This will make sure that you don’t get icing all over your plate and create a picture perfect cake! Pour icing on cake and spread evenly. ***Make sure cake is completely cool before doing this. Once icing is even, sprinkle coconut on top and sides. Allow icing to set, remove wax paper, and serve. Enjoy!


Photography and writing by:
(b) www.alyshayoderphotoblog.com ![]() www.alyshayoderphoto.com
www.alyshayoderphoto.com
(e) alyshayoderphoto@yahoo.com (p) 610.762.7810
Popular Now


